
Vue3 + TS 中使用 ToastUI-Editor 编辑器
- 鄢云峰
- 2023-10-28 17:58:49
- 3639
- 8
- YYF
富文本编辑器在项目开发中是经常会用到的组件,而如今 Markdown 富文本编辑器也越来越流行,ToastUI-Editor 则是一款所见即所得的 Markdown 编辑器,那么今天就和大家分享一下如何在 Vue3 项目中使用它。
官网地址:https://ui.toast.com/tui-editor/
官方vue-editor地址:https://github.com/nhn/tui.editor/tree/master/apps/vue-editor
其实官网提供了 Vue 的封装版本(vue-editor),但是官网提供的封装只支持 Vue2 版本的。当你按照官网的步骤进行操作时,在 Vue3 中是会报错的,根本跑不起来。但是我确实又想在 Vue3 项目中使用这个编辑器,那怎么办呢?当然就是自己封装一个组件,不使用官网提供的 Vue 版本了。下面分享一下我自己封装的组件。
首先下载所需的依赖包,这里我们需要下载四个依赖包,分别是:
1- @toast-ui/editor
2- @toast-ui/editor-plugin-code-syntax-highlight
3- prismjs
4- @types/prismjs
前三个是生产依赖(dependencies),最后一个是开发依赖(devDependencies),其中 prismjs 是一个代码高亮的 JS 库,类似于 highlight.js,用于在编辑器中对代码进行高亮显示的。依赖包安装好后我们来看一下具体的组件封装代码,整个源码如下:
组件文件: TuiEditor.vue
<template>
<div ref="editor"></div>
</template>
<script lang="ts" setup>
// @ts-ignore
import Editor from '@toast-ui/editor'
import codeSyntaxHighlight from '@toast-ui/editor-plugin-code-syntax-highlight'
// 需要高亮显示哪些编程语言,就引入哪些语言相关的 JS
import Prism from 'prismjs'
import 'prismjs/components/prism-csharp.min.js'
import 'prismjs/components/prism-css.min.js'
import 'prismjs/components/prism-typescript.min.js'
import 'prismjs/components/prism-json.min.js'
import 'prismjs/components/prism-javascript.min.js'
import '@toast-ui/editor/dist/toastui-editor.css'
import 'prismjs/themes/prism-dark.min.css'
import '@toast-ui/editor-plugin-code-syntax-highlight/dist/toastui-editor-plugin-code-syntax-highlight.css'
import $apiUpload from '@/apis/upload'
const editor = ref<HTMLElement>()
const props = withDefaults(defineProps<{modelValue: string}>(), { modelValue: '' })
const emits = defineEmits<{
(event: 'update:modelValue', content: string):void,
(event: 'getHTML', html: string):void
}>()
let edit:Editor | null = null
onMounted(() => {
edit = new Editor({
el: editor.value!,
height: '900px',
initialEditType: 'markdown',
previewStyle: 'vertical',
placeholder: '期待您的新作…',
initialValue: props.modelValue,
plugins: [[codeSyntaxHighlight, { highlighter: Prism }]],
events: {
change: () => {
emits('update:modelValue', edit?.getMarkdown() || '')
emits('getHTML', edit?.getHTML() || '')
}
}
})
// 图片上传
edit.removeHook('addImageBlobHook')
edit.on('addImageBlobHook', async (file: File, cb: Function) => {
const form = new FormData()
form.append('file', file)
const result = await $apiUpload.upload(form)
cb(`/api/${result}`, file.name)
})
})
watch(() => props.modelValue, (newValue, _) => {
edit?.setMarkdown(newValue)
})
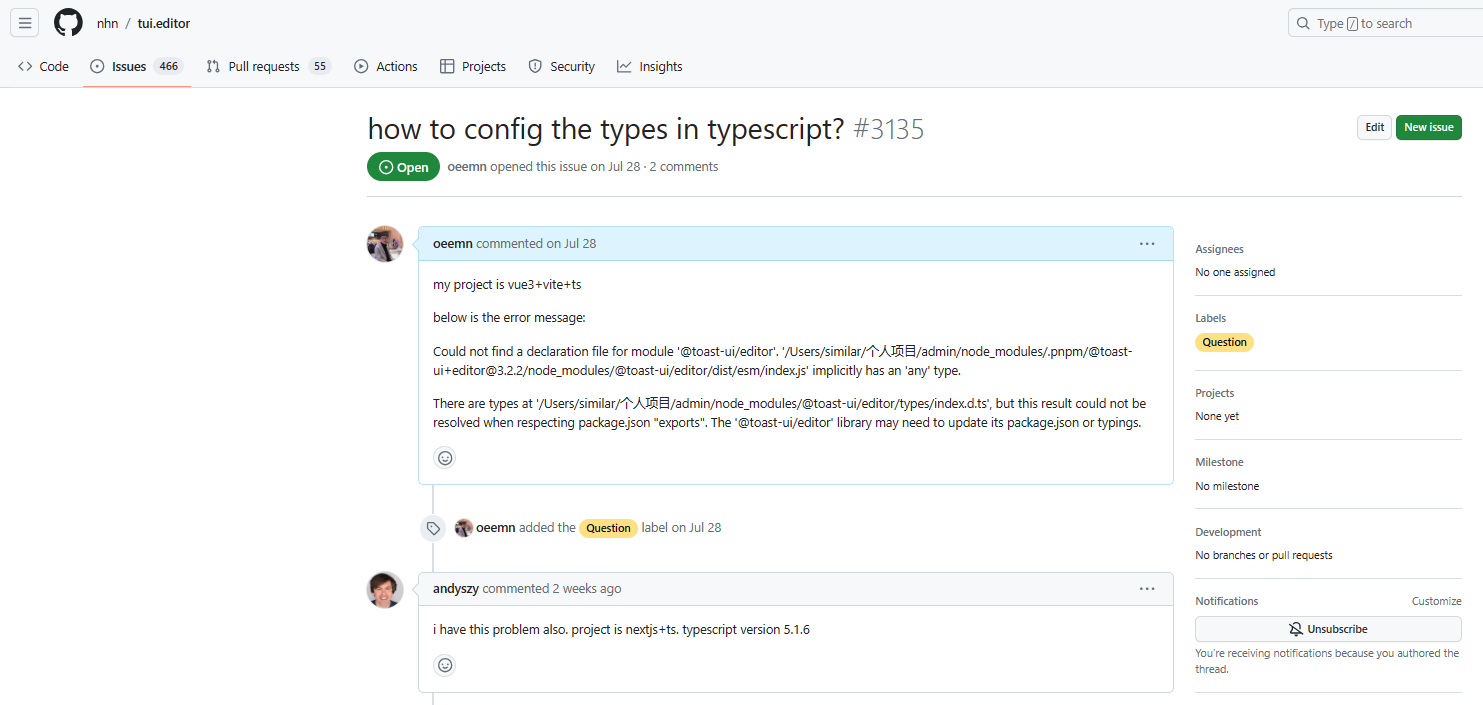
</script>由于官方提供的 @toast-ui/editor 类型声明文件(.d.ts)有问题,在项目进行打包的时候会报错,所以通过注释 // @ts-ignore 来绕开类型检查。关于这个问题我已经在 github 上提交了 issue,但是一直未能得到回复。
因为编辑器图片上传需要调用接口,所以组件中我引入了自己封装的上传接口API:$apiUpload.upload 。当你们使用我这个封装的组件时,记得换成你们自己的图片上传接口API。下面我们来看一下组件的具体使用:
<tui-editor v-model="article.content" @getHTML="(html) => article.html = html" />如上所示,使用也很简单,v-model 绑定的是 markdown 文本,@getHTML 事件则是获取 markdown 文本转换后的 html 文本,相当于一个用于编辑,一个是用于展示。大家现在看到的这篇文章,就是我用 toastui-editor 编辑器写出来的,今天的分享就到这里了,有不明白的随时留言